Creating the Android App
Using isCOBOL IDE
1. Right click on simple_COBOL_HTML in the Explorer tree
2. Choose Export
3. Choose Project as Android Application from the isCOBOL tree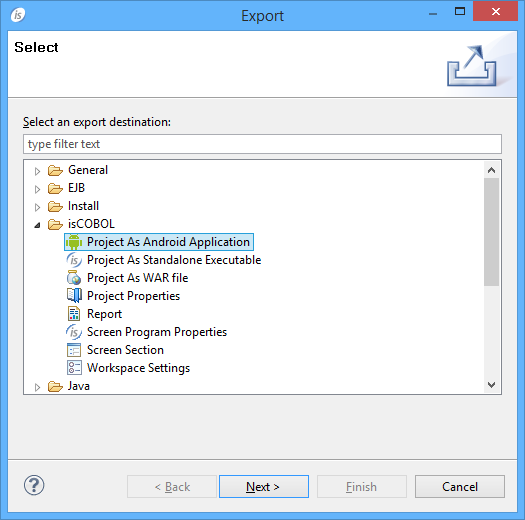

4. Select the desired project from the list, then click Next
5. Provide the required information: Android SDK location, target version, package and the folder where the generated apk should be saved. Example:
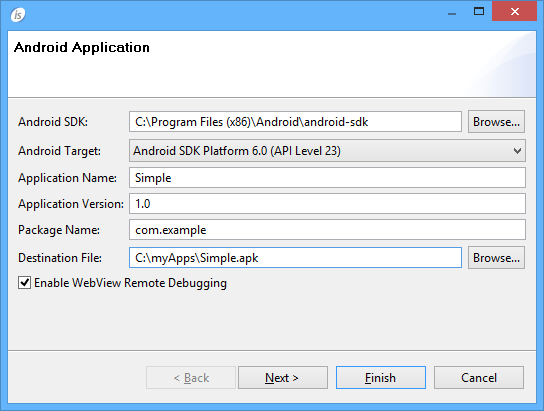
Note - Do not use the same package for more applications. The package is a sort of unique ID in the Android system.
The "Enable WebView Remote Debugging" option enables the ability to attach the app with a Chrome browser in order to debug the HTML/JS frontend as described here.
6. You can click finish or go ahead with the following optional steps.
7. The next step allows to customize permissions. By default, only WRITE_EXTERNAL_STORAGE is active.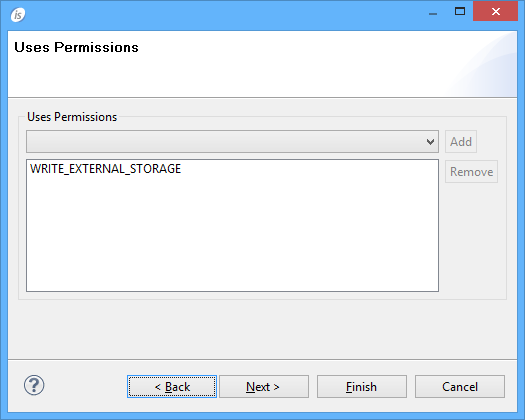

8. The next step allows you to configure the application icon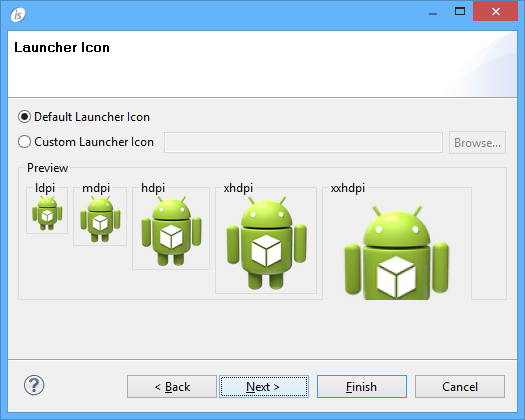
9. The next step allows you to exclude some of the project items (e.g. a program or a css file). Ensure that these items are really useless before excluding them, otherwise your app may not work correctly.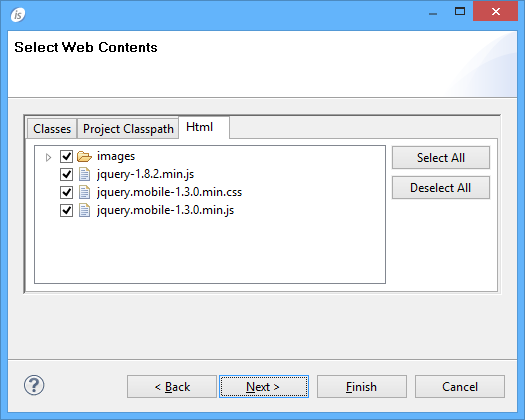

10. If you have a valid keystore to provide or you wish to exclude some project files from the app, click Next, otherwise click Finish. 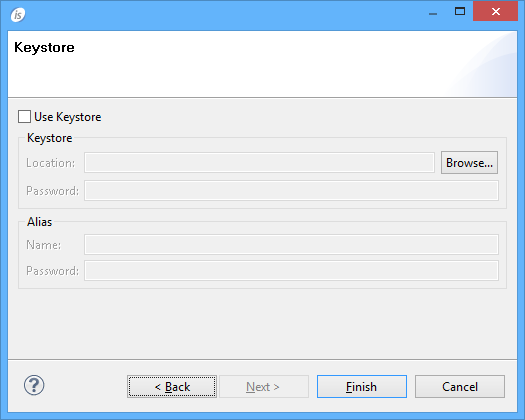

Note - If no keystore is provided, the IDE will include a default one. The default keystore is suitable for testing purposes. Before publishing your app in the Marketplace, you should apply a valid keystore to it.
Without isCOBOL IDE
1. Create an empty folder to host project files (e.g. “C:\android_test”)
2. Run the command:
android create project --target 1 --name simple_ANDROID --path c:\android_test --activity MainActivity --package com.example.simple_android |
You should obtain the following output
Created directory C:\android_test\src\com\example\simple_android Added file c:\android_test\src\com\example\simple_android\MainActivity.java Created directory C:\android_test\res Created directory C:\android_test\bin Created directory C:\android_test\libs Created directory C:\android_test\res\values Added file c:\android_test\res\values\strings.xml Created directory C:\android_test\res\layout Added file c:\android_test\res\layout\main.xml Created directory C:\android_test\res\drawable-xhdpi Created directory C:\android_test\res\drawable-hdpi Created directory C:\android_test\res\drawable-mdpi Created directory C:\android_test\res\drawable-ldpi Added file c:\android_test\AndroidManifest.xml Added file c:\android_test\build.xml Added file c:\android_test\proguard-project.txt |
3. In the directory you created at step 1, edit the file AndoirdManifest.xml and replace the current content with the following:
<?xml version="1.0" encoding="utf-8"?> <manifest xmlns:android="http://schemas.android.com/apk/res/android" package="com.example.simple_android" android:versionCode="1" android:versionName="1.0" android:installLocation="auto" > <uses-permission android:name="android.permission.WRITE_EXTERNAL_STORAGE" /> <uses-sdk android:minSdkVersion="8" android:targetSdkVersion="17" /> <application android:allowBackup="true" android:icon="@drawable/ic_launcher" android:label="@string/app_name" > <activity android:name="com.example.simple_android.MainActivity" android:label="@string/app_name" android:configChanges="keyboardHidden|orientation|screenSize" > <intent-filter> <action android:name="android.intent.action.MAIN" /> <category android:name="android.intent.category.LAUNCHER" /> </intent-filter> </activity> </application> </manifest> |
The manifest file describes the fundamental characteristics of the app and defines each of its components.
Our main goal is to obtain write permissions on the device in order to store the html files for the UI and let the COBOL program create files if necessary.
4. In the same directory, edit the file project.properties to specify the Android target version.
The target must be installed in your SDK. You can run the command
android list targets |
to obtain the list of available targets.
5. Switch to the res\layout sub folder, rename the file main.xml to activity_main.xml and replace the current content with the Content of main_activity.xml
6. Switch to the src\com\example\simple_android sub folder and edit the file MainActivity.java replacing the current content with the Content of MainActivity.java.
7. Add ismobile.jar (taken from C:\Veryant\isCOBOL_SDK2021R1\mobile\lib) and cobol.jar (previously produced) to the libs sub folder.
8. Create a folder named “raw” under the res\layout sub folder and put html.zip (previously created) into that folder.
9. (optional) Edit the file strings.xml under the res\values subfolder and provide a custom name for your app. The current name is “MainActivity”, you might call it “simple_ANDROID” to make it match with the project name or you can use whatever name you prefer.
10. From the root directory of your project (e.g. C:\android_test) run the command:
ant debug |
The above command builds the apk file of your app under the project’s bin directory. The apk is named "simple_ANDROID-debug.apk". You can specify a custom name by adding the option -Dout.final.file=YourCustomName.apk at the end of the command line. The apk file can also be renamed later using operating system commands.
Content of main_activity.xml
<WebView xmlns:android="http://schemas.android.com/apk/res/android" android:id="@+id/webView1" android:layout_width="fill_parent" android:layout_height="fill_parent" /> |
The WebView control allows to render the HTML user interface of our application. This is the only control we need.
Content of MainActivity.java
package com.example.simple_android; import java.io.PrintWriter; import java.io.StringWriter; import javax.crypto.Cipher; import javax.crypto.spec.SecretKeySpec; import android.os.Bundle; import android.webkit.WebView; import com.iscobol.iscobol4android.IsCobolMainActivity; public class MainActivity extends IsCobolMainActivity { @Override protected void onCreate(Bundle savedInstanceState) { super.onCreate(savedInstanceState); setContentView(R.layout.activity_main); final WebView webView = (WebView) findViewById(R.id.webView1); init (webView, R.raw.html); } } |